Overview

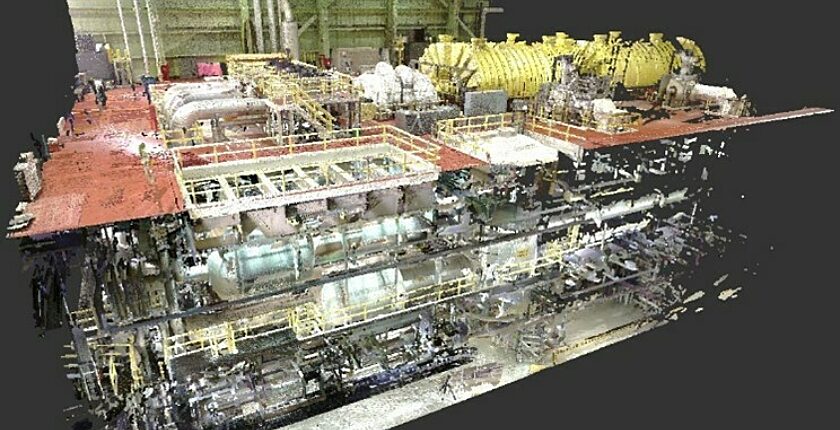
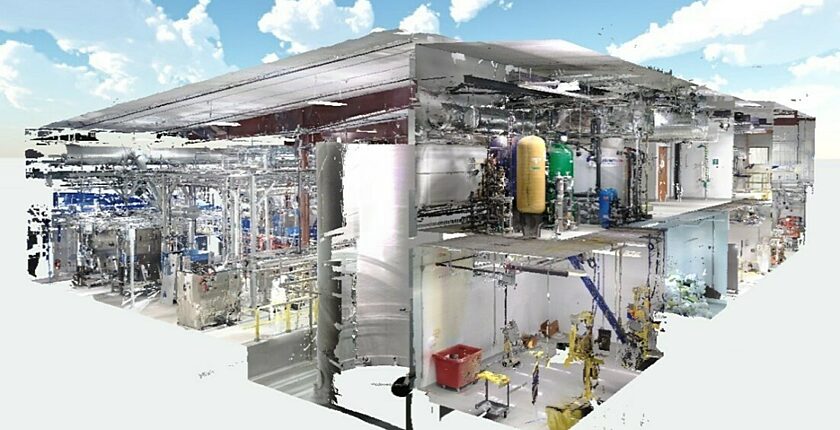
The ability to recreate virtual models of existing plants and bring to life design concepts has radically improved design capabilities by allowing conflicts and challenges to be identified before they get incorporated and potentially require expensive physical fixes. It also allows for the quick, cost-effective and efficient examination of different design approaches allowing designs to be optimized and are not just the first workable design.
In nuclear facilities, where access may be limited because of radiation fields, laser scanning provides fast and accurate models of the real environment that can be used to create a virtual reality in which exercises can be practiced so dose uptake is minimized when the work actually takes place.
We are constantly innovating in this exciting, rapidly developing, field as we optimize our own design work and help you with yours.
Our dedicated team is experienced in constructing 3D models of facilities, with specialized expertise in drafting, simulation, and modeling engineering. We also have experience using component monitoring, digital twins, pattern recognition software, and more.
Why Us?
-
Innovative Solutions
We develop solutions that use acquired data and then incorporate physics, subject matter expert (SME) insights, and practical operating experience (OPEX) to allow new approaches to be investigated and developed.
-
Reduced Risk, Maximum Efficiency
3-D laser scanning quickly acquires as-built data. This data is then used to create realistic models and virtual reality environments, allowing you to ensure that everything will fit together smoothly.
-
Modeling and Visualizations
We are redefining expectations of the flexibility and accessibility of data. Our 3D models can be viewed on a desktop or laptop using free software such as Faro SCENE LT, Autodesk Navisworks Freedom, and Autodesk ReCap.
-
Enables Exercises and Rehearsals
Realistic virtual reality environments enable exercises to be rehearsed until they can be undertaken with maximum efficiency allowing worker doses and risk to be reduced.
Technical Abilities
Laser Scanning
Our scanning services streamline your projects and ease collaboration between the teams involved.
Laser scanning allows engineering teams, spread across different areas, to plan out any project utilizing the data from the scan. This way installations, design required modifications, and more can be planned without spending additional time in a reactor vault.
We have a team of qualified laser scanner operators with experience in scanning nuclear and industrial facilities.


3D Modeling
Our 3D modeling Building Information Modeling (BIM) platforms have direct applications in nuclear power facilities. There are four categories of digitization that BIM can help with:
- Process Engineering
- Engineering & Design
- Procurement & Construction
- Commissioning & Startup

Easy Viewing of the Models
We use Microsoft HoloLens, HTC Vive Pro, and RealWear virtual reality (VR) headsets and have strong working relationships with VR developers, augmented reality (AR) experts, and other 3D presentation leaders.

Artificial Intelligence and Machine Learning
Our team has developed several applications of machine learning (ML) and Artificial Intelligence (AI) covering a broad range of topics including:
- Predictive Modeling with Anomaly Detection and Pattern Recognition
- Automation of Inspections
- Text Analysis using Natural Language Processing
- Computer Vision and Object Detection

Our Proven Experience
Quality Assurance & Technical Standards
- 10CFR50 Appendix B (2021)
- Quality Assurance Criteria for Nuclear Power Plants and Fuel Reprocessing Plants
- ASME BPVC
- Boiler and Pressure Vessel Code
- ASME NQA-1 (2008)
- Quality Assurance Requirements for Nuclear Facility Applications
- CSA N285.0-17/N285.6 Series-17 (2017)
- General Requirements for Pressure-Retaining Systems and Components in CANDU Nuclear Power Plants/ Material Standards for Reactor Components for CANDU Nuclear Power Plants
- CSA N286-12
- Management System Requirements for Nuclear Facilities
- CSA N286.7-16 (2021)
- Quality Assurance of Analytical, Scientific and Design Computer Programs
- CSA N291 (2019)
- Requirements for safety-related structures for nuclear power plants
- ISO 9001
- Quality Management System
Key Clients
Projects
We provide industry-leading innovation with expert design and modeling capabilities to minimize design defects. State-of-the-art technology solutions and a programmatic view ensure that we meet client strategic objectives and goals.


